Saturday, February 21, 2015

Pasta e Fagioli… Our Family's 100+ Year Recipe for Pasta with Beans

Cranberry Beans a.k.a Bolotti Beans (:sigh:) oh how I love thee! So for many years (well maybe my entire life, but who's really counting anyway) my grandmother would always make this delicious meal which has been in my family for years… say like over 100 (crazy I know). Well the story goes something like this.  My great-great grandmother, Nonna, (yes that's right, two greats!) was making this since before my family came to America from Sicily.  As my grandmother accounts, Nonna used to go to the corner market and buy these beans by the bushel basket in order to make enough Pasta e Fagioli for their large family (10 children, mother, father, uncle, grandmother and grandfather) OMG! With no real recipe to be handed down, my grandmother used to watch her Nonna make this, and for years, has been making it for her family from memory. When I asked her to tell me how she makes it (I can't tell you how much I love this) she laughed and said other than her and her Nonna, I am the only other person that will know how to make it… that is until, I tell you all how to make it later on in this post. 

Before we get into it, here's a little ditty about cranberry beans.  Since I adore this meal so much (I think i've said that like 3 times already), I decided to give it a whirl and grow my own cranberry beans in my garden last year, as an experiment.  Let me tell you bob - these things grew like nobody's business! This year I am certainly going to grow them with the intention of making Pasta e Fagioli and succession plant them so that I have a constant supply throughout the summer - if I can manage and don't run out of room, I will plant enough to be able to dry some to get me through the winter months too!

So back to the beans. They are mild tasting and when they are fresh, their pod is green and pink/purple speckles and the bean inside is white with red/purple speckles (you will see in the picture below). You can find them this way at either farmers markets in the summer months, or sometimes find them in your local fruit and veggie store.  I have read, however not seen this with my own eyes, that you can find them dried in certain markets/health food stores, too!

"Thats all I have to say about that" (Forest Gump reference) - let's get cooking'!

You will need:
  • 3 lbs fresh cranberry beans in the pod (approximately 4 cups of shelled fresh beans and 2 cups of dried)
  • 1 onion
  • 1 stalk of celery (not one rib) with a lot of leaves on it
  • 2-3 cans of chicken broth (depends on how much evaporates while cooking)
  • 1 8oz can of tomato sauce (if you have your own canned from your garden, make sure it is completely smooth, no chunks of tomatoes)
  • 1 Box Ditalini pasta (cooked)
  • red pepper flakes (to taste)
To make:

Take all 3 lbs of your cranberry beans and give them a good washing while they are in their shell.  If you are using the dried version, soak them overnight to soften them. See how beautiful these pods are?! I just love them!

Now comes the fun part, shelling all of these beans - it sounds like it takes a long time but I had a cup of tea and by the time I was done with my tea, all of my beans were shelled! Make sure to check each bean…throw them out if there are any signs of mold!


Once you get them all shelled, this is what the beautiful beans will look like. Don't be fooled however - they don't stay all speckly and pretty once they are cooked - bummer I know!! Give them a rinse again.  In the picture on the bottom right, I am showing you that out of all of the beans in the shell, I only ended up with 4 cups after I shelled them.

Now, grab your onion and finely chop it.

Next, take your celery and cut off all of the leaves,  pull off the outer ribs of celery and there will be more leaves in the center or heart of the stalk…use those too. Coarsely chop the leaves and save the ribs of celery to make my Super Duper Chicken Souper later on in the week - prep once use twice?! The leaves of the celery add amazing flavor and sacrifice having to chew chunks of celery because that would just be weird in this dish!


Put a little bit of olive oil in a medium sauce pot and get the celery leaves and onions working. Once the onions become transparent, then add the tomato sauce, 1 can of chicken broth, and the beans. I also added about a tbsp of red pepper flakes here because I like mine HOT HOT HOT!  If the group you are feeding isn't into spicy foods, the red pepper flakes could be added to each serving when it's finished.


So now you basically mix it all together, give it a nice big stir, and bring it to a boil. Once its boiling, turn down the heat to a simmer and put a lid on the pot. They key to this recipe is "low and slow".  Keep adding chicken broth so that the beans are always covered with liquid (see the middle picture below). Simmer for two hours and by the end, your Pasta e Fagioli should look like the bottom picture.


Lastly, add the beans to your cooked Ditalini pasta and serve in bowls! Be sure to save a little bit of the pasta cooking water to use if the finished Pasta e Fagioli needs to be loosened a little bit. As you will see below, this is not the typical soupy type of Pasta e Fagioli that many restaurants serve - this is truly what the literal translation of the name says it is "Pasta with Beans" and I promise you… its delish!


And that's all she wrote (not literally, but ya know)! I topped mine with more red pepper (the hotter the better) and thats pretty much it.  It doesn't look like much but trust me, it tastes so good and has a ton of fiber and protein from the beans! Give it a try… I mean, after all - its been in my family for over 100 years and its still a family favorite meal!

Enjoy!

Danielle


Saturday, February 14, 2015

Homemade Butter Cream Frosting in 5 Minutes or Less!

So I think it's safe to assume…. cupcakes might just be the most tempting thing of life, don't you agree?! I can't seem to keep myself away from them no matter how hard I try. Even with the whole gluten sensitivity thing - I JUST CAN'T FIGHT IT sometimes! 

So you want to bake cupcakes at home… you buy the cake mix and frosting from the store, add a few ingredients from the refrigerator and poof! Homemade cupcakes - I THINK NOT! Did you ever stop and read what is in the frosting?? High Maltose Corn Syrup and a bunch of other preservative ingredients! Now I know you are like "well I buy it because its easy and quick" but let me tell you sister (or brother) the real thing can be made in a pinch and with ingredients you probably already have in your home! 

So today my friends, is the day…. the day to promise yourself to never, ever (ever!) buy store bought frosting again and simply whip up a batch of your own in 5 minutes or less!  Here we go!

You will need:

1 stick of butter (room temp)
4 1/2 cups of confectioners sugar (I didn't say it was healthy!)
1 1/2 tsp vanilla
5 tbsp milk (or cream but I use milk)

To make:

Take a mixing bowl and add the room temp stick of butter. I usually cut the butter into cubes because it is easier to work with. Use either a hand or stand mixer and whip the butter until it is nice and smooth then add the confectioners sugar, vanilla, and milk and mix with mixer until very smooth and creamy.  If you are thinking to yourself "Damn I wish she made a chocolate version" well I'm allergic to chocolate (criminal, I know) so I usually don't make things I intend to eat with chocolate, but if you want chocolate, I'd substitute 1/4 cup of the confectioners sugar with 1/4 cup of cocoa!


And that my friends is how you made butter cream and I promise you, its way better than the store bought stuff you used to use! Quick and easy, isn't it?!

Comment below if you give this a try or have questions related to the recipe!

Happy Valentine's Day and enjoy!
Danielle

Saturday, February 7, 2015

Valentine's Day Bunting

So one thing we love to do in our home is decorate for holidays. Our front entry way is perfect for decorating as it has a very large entry way into the living room and a staircase going up to the second floor - there are lots of decorating options here! Since the Christmas decorations came down, I was anxiously waiting to ramp up this area again for Valentines Day. After thinking about how I was going to decorate this space for Valentine's Day this year and my burning desire to make a bunting, I had a great idea - make a Valentine's Day Bunting (duh)! I have a thing for the rustic chic look so I knew I wanted to do something with burlap for this project, plus, I had a mess load of Valentine's Day fabric in my stash that was screaming to be used. After about an hour (really, its a quick project), I had made a super cute, shabby chic rustic bunting! If you are interested in this DIY, follow along - it's super easy and you don't even really need to use a sewing machine!

You will need:
burlap (I used a wide burlap ribbon)
natural fiber twine/string (I used burlap)
printed fabric
matching thread
sewing needles (one with an eye large enough for the fiber twine, one for the thread and 
    one long tapestry needle)
small piece of chalk (or pen)
scissors
straight pins
buttons (enough to place one every 10" of the final length of the project)

To make:

First lets start with the measurements! Measure the doorway or whatever you are going to hang your bunting along (a fireplace mantle would be lovely but we don't have one over our pellet burning stove). The doorway I used was 62"(measure in inches so that the math is easier). Once you have this number we are going to do the following calculations and cut to size:

  • The natural fiber twine/string: length of the area + 4"
    • Mine was 62" + 4" = 66"
      • Cut two of these lengths
  • Burlap: length of area x 2
    • Mine was 62" x 2 = 124"
  • Fabric: length of area x 3 
    • Mine was 62" x 3 = 186"
      • cut to the same width of the burlap
        • for me it was 7" wide
          • Make sure to mark the fabric using the chalk (or pen)
Now that you have all of the materials measured and cut, lets start to assemble. Take your natural fiber twine and thread it through a wide-eye sewing needle. At one end, measure 2" from the end and form a loop with the 2" piece. This will serve to help with hanging the finished product, as well as keep the twine from slipping through the burlap.


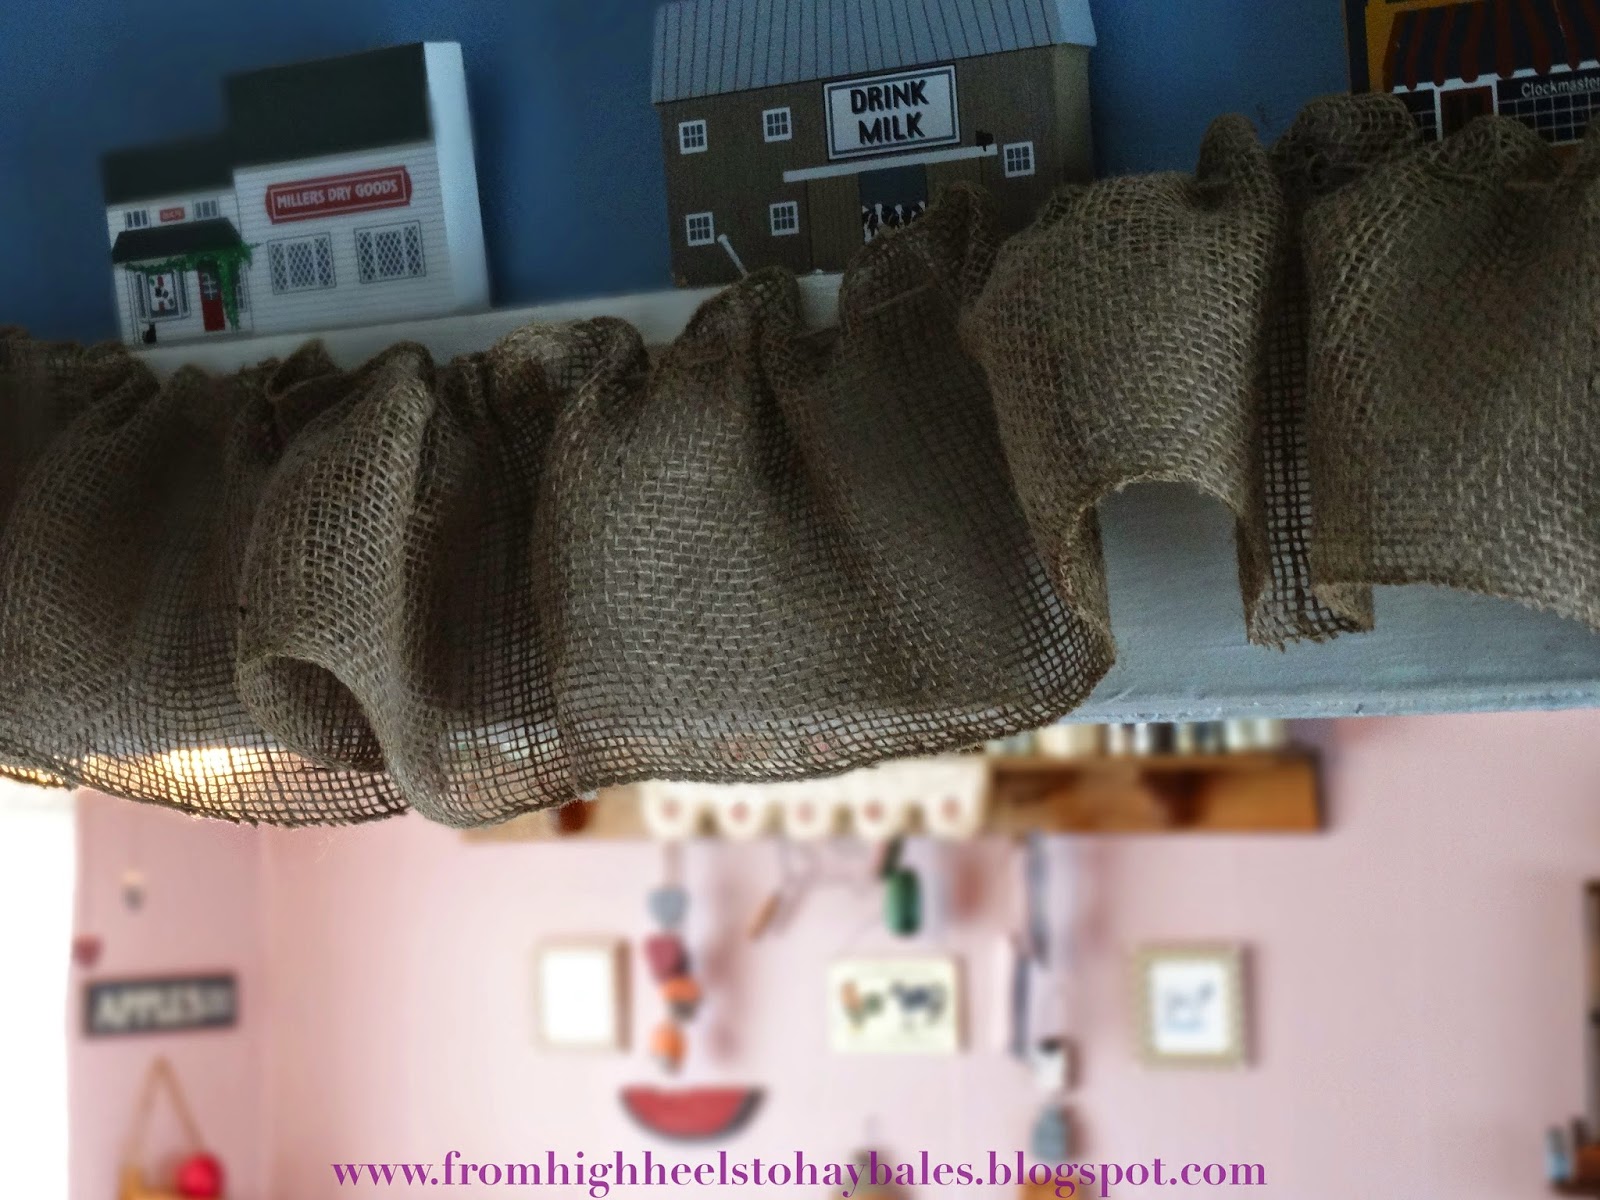
Here is a picture of the wide burlap ribbon I used (I found it at Michael's)


Now, sew long stitches (it doesn't have to be perfect) along the length of the burlap, about 1" from the edge. When you get to the end, with the last 2" of thread, tie another loop like the one you tied before.  At this point, your burlap will be nice and gathered. 


Hang it up to make sure it fits.  If you did the measurements correctly, the twine should be pulled tightly from end-to-end of the doorway/ space.


Super cute already, right? I forgot to mention, the way I designed this project was so that it is in two pieces and the holiday ruffled fabric will be interchangeable so that you can just take off Valentine's Day, make one for St. Patty's Day (and other holidays) and attach it to the burlap piece… cleaver, I know. In all seriousness, I hate to make the same projects over and over again so I wanted to make sure that this was a multi-use DIY.

Ok so now that you took all of 5 minutes to do that (I hope it didn't take longer), lets move on to the fabric ruffle.

My original piece of fabric was only two yards long so I had to cut multiple 7" strips until I had enough length per my calculations (it ended up being just under 3 pieces). If this is the same for you, just seam the strips together  (1/4" seam allowance) so that you have one really long piece of fabric that is the length that you calculated.

In the picture below, I showed you my chalk markings, this makes life so easy when you have to cut really long strips of fabric. So anyway, take the strip and fold right sides of the fabric together (the wrong side of the fabric will be facing outward) and pin together. You are going to sew 1/4" from the edge, either by hand or on your sewing machine, the entire length of the fabric.


Now comes the most annoying part of the whole project - turning the fabric right side out! Since my strip was like a gazmillion inches long, this got really old, really quick. So once you feed the fabric back through itself, get your iron and press both the fold and seam nice and flat. Some people skip steps like this but, I have to tell you, it makes a big difference. 

Once everything is pressed nicely, you are going to top stitch (if you don't sew, its just a fancy word for sewing on top of the right side of the fabric) the entire length of the fabric, 1/4" from the seam side. Once you sew all the way down, do the same thing again, 1/4" away from the stitching you just made. You will see what I mean in the picture below. You are making a pocket for my "I'm too lazy to make real ruffle stitches"  method lol. 


At this point, we are going to make this crazy long strip turn into the pretty ruffle in the lower corner of the picture above.  Take that second piece of twine but this time, thread it through the long tapestry needle. The reason that you want the long tapestry needle is because it becomes a pain to try and feed the twine through all of this fabric with a short needle. Once it's threaded, tie at knot again, 2" from the end like you did before. Now thread the twine in-between those two rows of stitches you made (its a little pocket for the string). Be careful not to loose the end of the twine when making the ruffles.  Since the fabric is 3 times longer than the string, things are going to get a little tight so be careful. Once you get to the end of the fabric, tie that loop again, with the last 2" of twine. Take some of that matching thread and quickly tack the end of the twine to the end of the fabric. This is so that the ends of the twine will never slip through the ruffle (even when you are storing it after the holiday).

For the last part… we are going to "sew buttons" (literally) and attach the two pieces together. Take your needle and thread and a button and sew to the very beginning of the burlap ruffle, right over the stitching you made with the twine. Then, sew one button every 10" from the previous button, for the length of the burlap - make certain to sew a button at the end of the burlap on the other side (you must have one button at each end)


Now, take pieces of twine and knot small loops (big enough to fit over the buttons but not so big it will fall off). Take your needle and thread and sew these loops to the fabric right where the twine is fed through, making sure to match them up with the buttons you sewed on the burlap. Once all of the loops are sewn on, loop them onto the buttons and poof - the two pieces are attached. 

I apologize for the blurry picture above, oops! And that's all she wrote.  Hang it up and enjoy! If you are ambitious, make more ruffles for other holidays. I intend on making a year-round shabby chic rustic bunting with the burlap and ivory lace ruffles!

I hope you enjoyed this tutorial!  If you make one of your own, please comment and tell me about it below. Also, if you have questions, comment below and I will be sure to answer them for you!

Happy DIY'ing

Danielle